
Are you looking to change input on your Sharp TV?
If so, let me be the one to guide you! As an expert in sharp tv configuration, I understand that it can be challenging to figure out how to switch inputs properly.
But fear not – by following my simple steps and advice, you’ll have no trouble changing inputs on your Sharp TV in no time.
I know what it’s like to feel overwhelmed with tech problems. It’s intimidating and can sometimes make us feel alone or isolated from those who seem more technologically savvy than we do.
That’s why I strive to provide easy-to-follow instructions for people of all backgrounds and technical abilities. So, if you need help switching inputs on your Sharp TV, stick around – because this is where I come in!
By the end of this article, you won’t just understand how to change input on your Sharp TV – but also gain the confidence needed to handle other tech issues too! You don’t have to do it alone; follow along as I take you through everything needed for a successful input switchover. Let’s get started!
Identifying The Model Number
Identifying the model number of your Sharp TV is a crucial step in configuring its inputs.
To figure out which model you have, start by looking on the back or side of your TV for an identification label that lists information such as serial numbers and product codes.
If there’s no label, don’t worry – we can still help! Check the manufacturer’s website to find specs and images of all their models so you can identify yours.
Once you’ve identified the model number, take note of it; this will come in handy when connecting a source device like a cable box or Blu-ray player.
Be sure to check if any new firmware updates are available for your specific Sharp TV model before trying to connect other devices.
With the right info about your Sharp TV model and up-to-date software, you’re ready to configure its inputs! Now let’s move onto how to connect a source device…
Connecting A Source Device
Now that you’ve identified the model number of your Sharp TV, it’s time to explore how to change the input on your device.
Connecting a source device such as a game console, cable box or streaming media player is one of the easiest ways to get started.
With some simple steps and basic knowledge of connecting devices to TVs, setting up your Sharp TV can be done in no time!
First things first: connect your desired source device to your Sharp TV. Depending on what type of source device you’re using will determine which ports are needed for connection.
Generally speaking, HDMI cables are preferred but other options may include RCA connections and USB cords. Once you’ve connected the cable from the source device into the back of your Sharp TV, turn both devices on and navigate to your TV’s input settings.
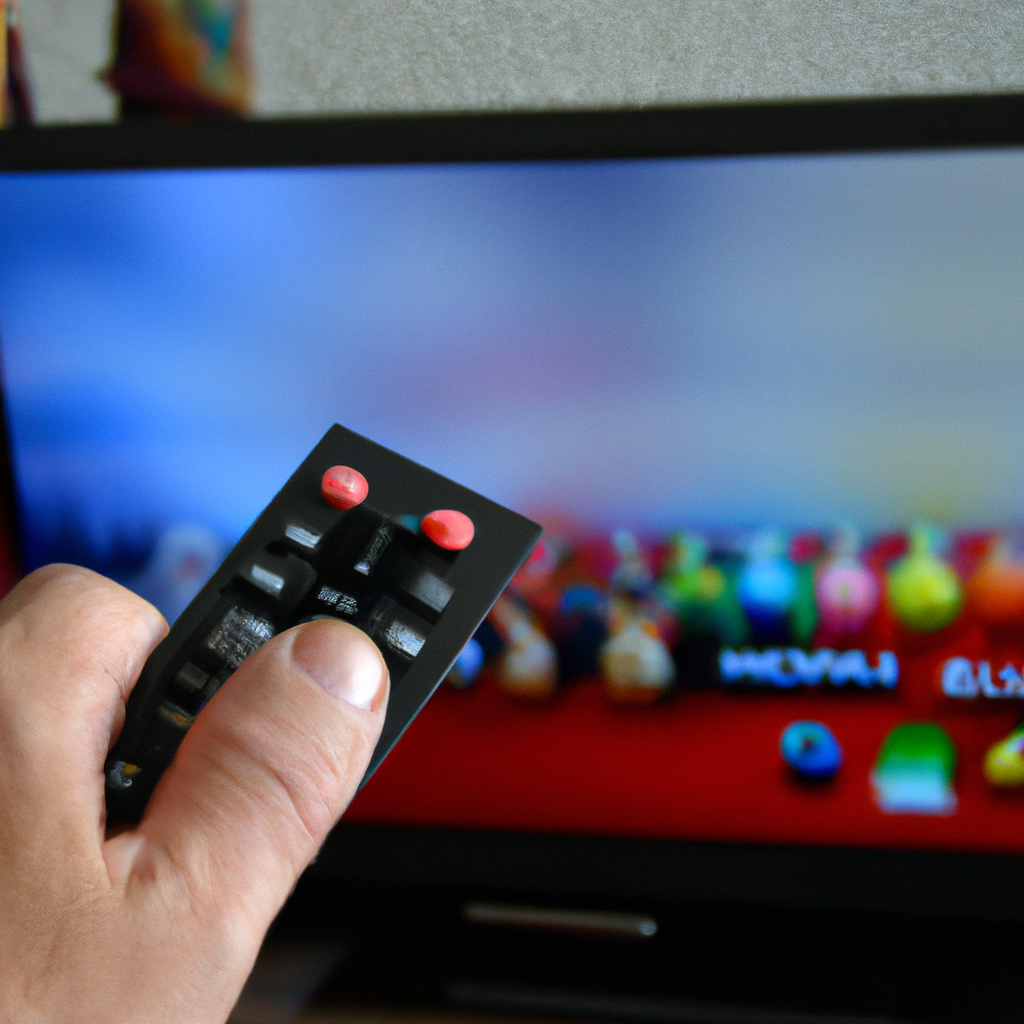
Using either the physical buttons located directly on the television or via remote control, take note of all available inputs listed under ‘source’ and select accordingly depending on which port was used during setup.
For example selecting ‘HDMI 1’ if an HDMI cord was plugged into this port previously.
If successful, when returning back to this menu item again should display what type of content has been detected (i.e; Xbox One).
Now that we have our source device successfully connected to our Sharp TV let’s look at how we can use our tv remote and on-screen menu items to adjust settings according to our preferences.
Using The Tv Remote And On-Screen Menu
Using the TV remote and on-screen menu is one of the easiest ways to change input on a Sharp TV. First, identify your model number and check for any firmware updates that may be available.
Make sure you’re up to date before attempting any changes. To access the main menu, press the ‘Menu’ button located on your remote control unit.
From here, scroll through until you find an option labeled as ‘Input’ or ‘Source’. This will allow you to select between various inputs such as HDMI, component video, etc.
It’s important to double-check all settings are correct after making any changes.
Once selected, a new window should appear with several options from which to choose from depending upon your specific device model and features.
Go ahead and select whichever input best suits your needs – either HDTV antenna connection or particular gaming console – then adjust it accordingly using the navigation buttons found within each submenu.
Take time to explore other audio/video menus; some models have additional advanced settings like picture size ratio and color temperature presets too!
After getting everything configured just right, save these preferences by selecting ‘Save As Default’.
That way every time you come back, your preferred configuration remains in place without having to reset anything manually.
Transitioning into adjusting input settings requires familiarizing yourself with both the physical remote controller and digital interface; once comfortable with those two tools, transitioning between different sources can be done quickly and easily!
Adjusting Input Settings
Adjusting input settings on your Sharp TV is a breeze! You can quickly and easily configure the inputs to match up with all of your devices.
To get started, you’ll need to access the Input Settings menu from the Home screen.
Once there, look for the option labeled Input Setting Adjustment.
This will allow you to customize which device corresponds to each input port on your television.
When making changes in this section, make sure that each device is correctly matched up with its corresponding port. For example, if you have an HDMI cable connected to the HDM1 port, it should be set as such within the adjustment settings.
As you change these options, pay special attention so that no two ports are mapped to the same device.
Once everything looks good, save your changes and exit out of the Input Settings menu.
Afterward, you’re ready to enjoy all of your content without any worries about incorrect connection configurations!
Checking For Firmware Updates
Are you looking to update your Sharp TV? The process of updating the firmware can be intimidating, but with some guidance, it doesn’t have to be! We’ll show you how easy it is to check for updates and install them.
Here’s what you need to know:
- Check your Sharp TV model number to ensure that all available firmware updates are compatible with your device.
- Make sure that you’re connected to a reliable internet connection before attempting an update. This will help reduce any interruptions during the download process.
- Visit the official Sharp TV website and browse for any available firmware updates. You can also use their automated search feature if you prefer.
- Download and save the applicable files onto a USB drive or other external storage device (if required). Then, follow the instructions provided by the manufacturer in order to apply the new software version.
- After installation is complete, make sure to reboot your television set in order for the newly installed firmware version to take effect properly.
Now that we’ve got our basics covered, let’s move on and look at troubleshooting resolution issues! With these steps taken care of beforehand, you should be well on your way towards having a smoothly running system that keeps up with modern entertainment standards.
Troubleshooting Resolution Issues
Having issues with the resolution on your Sharp TV?
Don’t worry, it’s a common problem.
With a few simple steps, you can change the input and get back to enjoying your shows in no time.
First, make sure that all of your cables are securely connected. If they aren’t secure, then this could be causing the resolution issue.
A loose connection will cause interference when trying to watch something, leading to poor picture quality or sound issues. Also double check which input type is being used; if it’s not compatible with what you’re watching, then the resolution won’t be as good either.
Once you’ve checked the connections and inputs, it’s time to adjust some settings on your Sharp TV itself.
Navigate through the menu until you find ‘Picture Settings.’ Here, you’ll see an option for ‘Resolution.’ Selecting this should allow you to choose from a variety of resolutions — just pick one that looks best for whatever content you’re streaming or watching via cable or satellite box.
And voila! You’ve successfully changed the input on your Sharp TV and solved that pesky resolution issue.
So don’t let those troubleshooting headaches keep you from having fun – follow these easy steps and enjoy high-quality entertainment again!
Conclusion
To summarize, changing the input on your Sharp TV is a fairly straightforward process.
However, it’s important to make sure you’ve identified the right model number and connected all of your source devices correctly before attempting any further adjustments.
Once that’s done, using the remote and on-screen menu should allow you to adjust most settings with ease.
If there are still issues after this, then checking for firmware updates or troubleshooting resolution problems can help get everything looking just how you want it.
As long as you take things step-by-step, I’m confident anyone will be able to properly configure their TV inputs in no time!
If you ever need assistance along the way or have questions about specific models and features, don’t hesitate to reach out for support. With such an intuitive user interface and helpful customer service options available, setting up the perfect viewing experience has never been easier.
So go ahead – give it a try! You’ll soon see why Sharp TVs are one of the best ways to enjoy all your favorite entertainment in stunning 4K glory.


