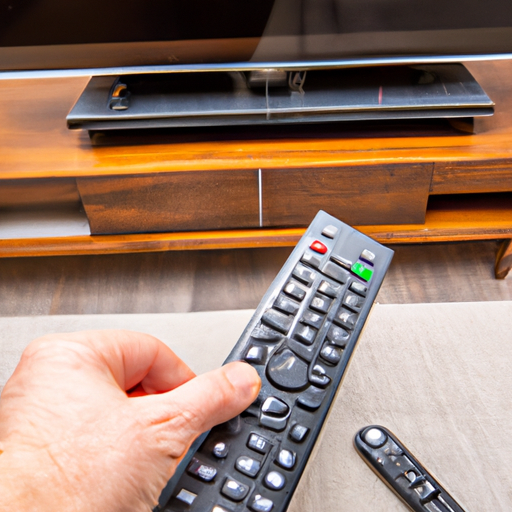
Are you having trouble changing the input on your Sanyo TV? Do you feel like you’re stuck with one channel and can’t switch to something else?
Don’t worry, we’ve got you covered! In this article, we’ll show you how to easily change the input on your Sanyo TV with just the push of a few buttons.
No need for complex instructions or expensive equipment – all you need is your trusty remote control. With our easy-to-follow steps and simple explanations, we guarantee that you’ll be switching inputs in no time! So don’t let your outdated remote cause any more frustration – let’s get started learning how to change input on Sanyo TV with remote.
We know how important it is for you to stay up to date with all the latest streaming services and entertainment options. That’s why we’ve included everything from detailed instructions on how to use your remote, to troubleshooting tips if something goes wrong.
So whether you’re a tech novice or an experienced pro, this article has something for everyone!
Understanding The Remote Buttons
To successfully change the input on your Sanyo TV with its remote, you must understand the buttons and functions available. The first step is to locate the power button, which will turn the TV on or off as needed.
This is typically labeled as “POWER” or “ON/OFF” on the remote. Next, look for the “INPUT” button.
Depending on your remote model, this may be labeled differently, such as “SOURCE” or “TV/VIDEO.” It can often be found near the top of the remote in a row of other common buttons like volume and channel control. Once you have located these two buttons, you are ready to access input settings on your Sanyo TV.

Accessing Input Settings
To access the input settings on your Sanyo TV, press the power button to turn it on. Then, press the input button until the desired input is highlighted.
Different model remotes may have different ways to cycle through inputs. Typically, pressing the input button will bring up a menu of available inputs and you can select by pressing either up or down arrows until the desired input is highlighted.
Once selected, press enter or OK to confirm. This should switch your TV to that particular input.
With all of these steps complete, you are now ready to connect new devices and begin using them with your Sanyo TV.
Connecting New Devices
Now that you have the input settings adjusted on your Sanyo TV, it’s time to start connecting and using new devices. To do this, you’ll need the necessary cables for each device and a few minutes of time.
Connecting new devices is fairly straightforward – all you need to do is plug one end of the cable into the device and then plug the other end into the corresponding port on your Sanyo TV.
To make sure everything works properly and to get the most out of your devices, here are some additional steps to take:
- Make sure all cables are securely connected
- Double check that the input setting is correct for each device
- Check for any software updates available for your devices
By following these steps, you should be able to quickly connect new devices to your Sanyo TV with ease. With this done, you can now start taking advantage of all your new devices.
Conclusion
To wrap up, I’ve gone over how to change the input on a Sanyo TV with the remote. First, it’s important to understand the buttons and layout of your remote.
After that, you can access the input settings and connect new devices.
Now that you know how to change inputs on your Sanyo TV with a remote, it shouldn’t be too difficult. You’ll be able to switch back and forth between different sources without any trouble at all.
Plus, if you ever have any questions or run into issues, there are plenty of resources out there to help you out.
Overall, changing inputs on a Sanyo TV with a remote is relatively simple. With just a few clicks of the button, you’ll be able to switch between devices quickly and easily.
So go ahead and give it a try – what do you have to lose?


